Tactical Engagements For Falcon 4 Allied Force
Download instructions: Right click on a download link below and click saveas. Put the file in your Campaign/Korea folder.
1. Tank Through SAM Advance-stop a tank advance through SAM cover
Why it is fun:
This is aircrafts versus vehicles and SAM sites mission. To add to the challenge, the SAM sites are often in cities behind buildings. You need to fire your HARMs at the right position and angle to clear the obstructions and destroy the SAMs. This tactical engagement also tests your maverick skills to the limit. To be successful, you must be proficient at locking on and firing mavericks at long range in order to avoid being in SAM range.
1A-Single Player Version-30 T-90 tanks and 18 SA-17s have slipped through our defenses. The SA-17s have formed have positioned themselves along checkpoints. The tanks will advance along these checkpoints in order to make themselves be under SAM cover. The tanks need to be destroyed before they reach and occupy Ch'orwon. To see path of tank battallion, see picture here. To see flight path of a typical mission and the SAM sites in relation to it, see picture here.
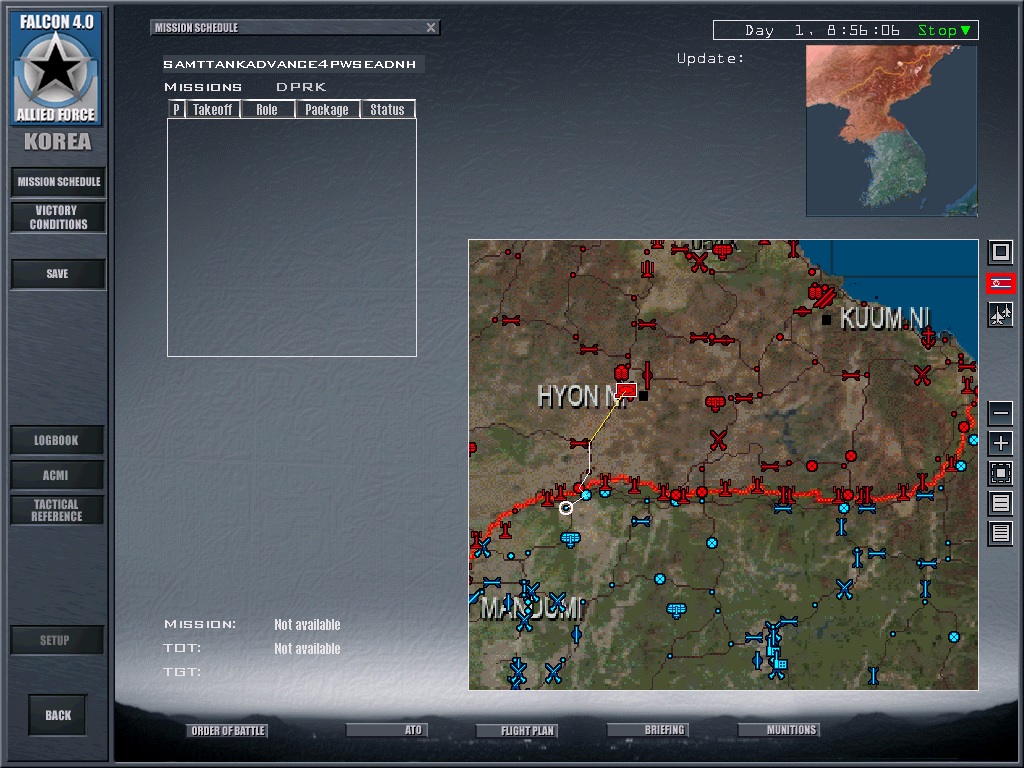
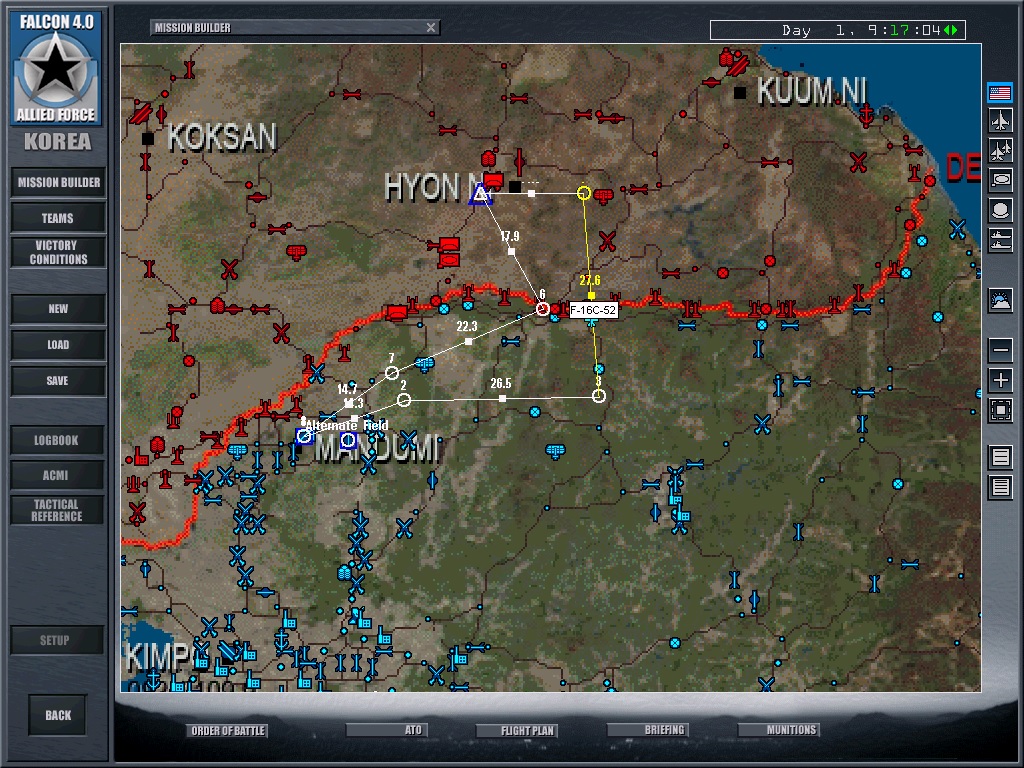
Unfortunately, there will not be enough available planes to destroy both both the Surface to Air Missiles and the tanks. Only one plane can be spared about every 20 minutes, because that is as much as air command can divert from other missions. There will be six flights of one plane each during the time span of the tactical engagement. The last flight will be on target just in time to stop the tanks in time at 1 hour and 50 minutes past the start of the campaign. The enemy tanks will occupy Ch'orwon after about 1 hour and 55 minutes. All flights need to focus on destroying the tanks, if they are to be stopped in time.
Victory Conditions:
Victory for the US is the elimination of 50% of the T-90 tank battalion before they occupy Ch'orwon. Victory for the DPRK is the occupation of Ch'orwon or the elimination of the last flight.
Tips:
All flights have 4 Mavericks and one HARM anti-radar missile. The total number of Mavericks between all the flights is 24. There are 21 total vehicles you need to destroy. Feel free to add more or less HARMs to the other flights, but keep in mind that for every one HARM you add, that will take away 2 Mavericks. Conversely, every HARM you take away adds two more Mavericks to give you more of a cushion in case you miss a lot. If 3.5 hours pass(12:30 game time), the game is a stale mate and will end.
That is not enough HARMs to stop the SAM threat. The HARMs are mainly put on the planes for the HARM targeting pod to display the SAM threat circles via the HARM Acquisition Display. But targeting the middle set of SA-17s(second one down) may provide significant relief for the later missions. The tanks will be close to this group of SA-17s during the later missions and a gap in the air defense could be created if all or most of the 6 SA-17s in the set are destroyed.
Often the SAMs will be in the city behind a building. In this case you need to use the look closer view by pressing L and then move sideways or come around to another position to clear the obstruction.
You will be shot at alot. The best way to avoid a SAM is to be outside their effective range or outside their range outright. The maverick AGM-65D has a range of 20 miles. This means you can just about destroy any vehicle that you can acquire with your radar and lock a maverick on to.
In fact, success in this tactical engagement.means using the radar to lock the maverick seeker head, rather than doing it visually. The radar can see further away than you can see visually with the Maverick sensor. Lock on at long range and don't try to fire any at short range. It is better to turn around for every launch than to get greedy and try to launch multiple missiles per pass. You also need to make sure you are high enough to clear any terrain feature or hill that will obstruct the target.
If you are not sure how to lock mavericks using the radar rather than visually, see the maverick tips and the radar tips in the Falcon 4 Tips section of the site. Once you have done this, this video will provide a more specific demonstration(see video 1).
video 1(windows media download-right click save-as)
Download:
1B-4 Player Version-same as 1A but instead of 6 flights of one aircraft, they are 2 flights of 4 aircraft. After one hour past start time, flight 1 is over target . After 1 hour and 24 minutes past start time, flight 2 is over target . The idea is to bunch up the single aircraft that come available into larger flights of 4 aircraft, rather than one aircraft per flight. Victory for the US is the elimination of 50% of the T-90 tank battalion before they occupy Ch'orwon.
Download:
1C-same as 1A but with no harms on any flight. Having the loadouts of 100 percent Mavericks is thought to be the better solution. This way, there is much more of a cushion if quite a few mavericks miss or some planes get shot down. There is six Mavericks per airplane versus 4 if a HARM anti-radar missile is included in the loadout. The total number of Mavericks for all the flights is 36 versus 24 if you include the HARMs.
Air command is confident the long range of the maverick is very likely to be successful in stopping the tanks. The maverick has a very long range of 20 miles. A skilled pilot can launch mavericks well further than 10 miles away. This should be outside or near the edge of the range of a SAM site.
Download:
1C-4 Player Version-same as 1C, but with the following changes. There is just one flight of 4 with six Mavericks per plane, for a total of 24. You only need to destroy 40% of the battalion. This is 17 vehicles.
Tips-With the extra cushion of Mavericks, launch the missile as far away as you can. Should you come under fire from a SAM, a long range launch should give you ample time to dive into a terrain feature to shield you from a missile.
Download:
1D-same as 1A but with a SEAD flight to destroy the middle group of SA-17s surface-to-air missiles. A F/A-18F Super Hornet aircraft armed with six HARM anti-radar missiles is tasked with destroying this SAM group. This flight starts immediately at the start of the tactical engagement and is well before the first vehicle interdiction mission.
Tips-Be sure to use the look closer view by pressing the L key to check whether a surface-to-air missile is obstructed by a building. If it is obstructed, then you will need to go around or go sideways. If going sideways, go about a few miles or 30 seconds or a minute or so. Then turned towards the SAM launcher to re-check if it is still obstructed.
Download:
1E-same as 1D but with no harms on the planes after the SEAD flight. They have mavericks only.
Download:
1E 4 Player-same as 1E but there are only two flights. The first is a SEAD flight of 4 F-16s armed with 2 HARM anti-radar missiles, which is tasked to destroy the middle group of SA-17s. The second flight is 4 F-16s armed with six Mavericks. Only 40% of the tank battalion needs to be destroyed. This is 17 vehicles.
Download:
2. Tank Battle
2A-Tank Battle-60 T-90 tanks are moving in from the north into friendly territory. They have setup 2 battallions of SA-6 air defense units to defend against an air attack. They will attempt to take Wondang-dong just west of the city they will enter. You will have about 30 minutes to make the tanks turn around or slow the tanks down. Helping you will be 30 M1 Abrams tanks and 4 Apache Longbow helicopters. The Apache Longbows will go first and your mission will be the third one down. The tanks will Capture Wondang-Dong unless they are disrupted. To achieve victory, destroy the tanks or keep the SAMs busy so the Apache Longbows can help eliminate the tanks. Allied Victory will be the elimination of 80% of any two of the T-90 tank battalions. Victory for the enemy will be the capture of Wondang-Dong.
Version 2-In this version, the helicopter flights are better timed with your flights. The helicopters are set to be in firing range within a few minutes of when your flights are in firing range.
Why it's fun-The game balancing has not been tested. This means there not be the right proportions. The game may be too difficult or too easy.
The purpose of this tactical engagement is to test how well helicopters and airplanes together do against surface-to-air missiles and vehicles. It will test how much the addition of the helicopters do in keeping the surface-to-air missile site busy. To make the tactical engagement interesting, check the order of battle and see how many vehicles the helicopters have destroyed, once you're done flying your missions.
Tips- Be sure to arrive at each steer point at the correct time. Slow down or speed up to make sure your timing is right. Be extra sure to arrive at your target waypoint on time. That way you can start destroying targets at the same time the helicopters do. The helicopters will help overwhelm the SAM sites.
Download: